
Volkswagen T6 AIRBFT Air Suspension Installation Tutorial
The official website of AIRBFT air suspension shares with you: Volkswagen T6 AIRBFT air suspension installation tutorial. If you like DIY, then you can complete the installation of air suspension according to this tutorial.
Volkswagen T6 Multivan Air Suspension Computer Control System Kit
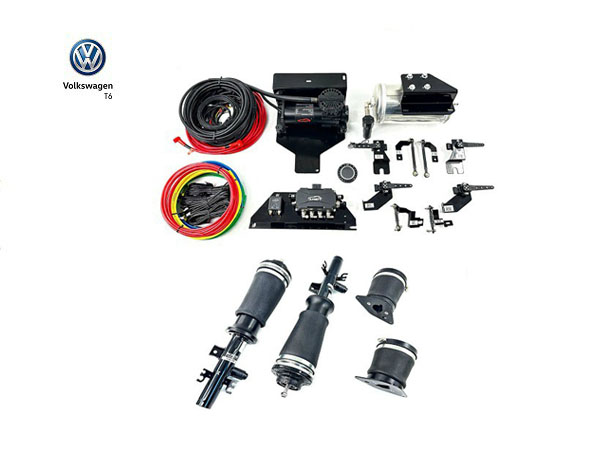
Please first check if all accessories are complete according to the above picture.
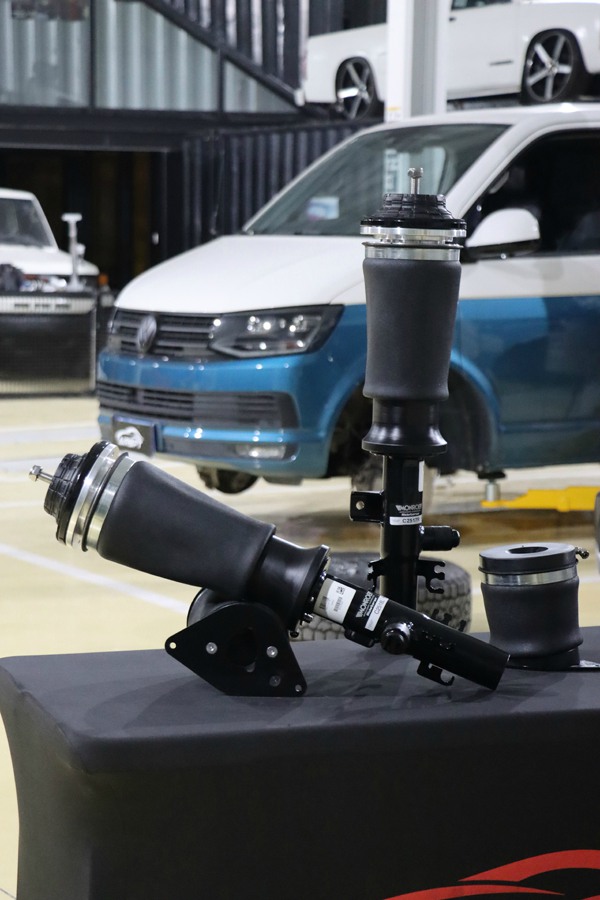
Monroe Air Suspension Shock Absorber Kit for Volkswagen T6 Multivan
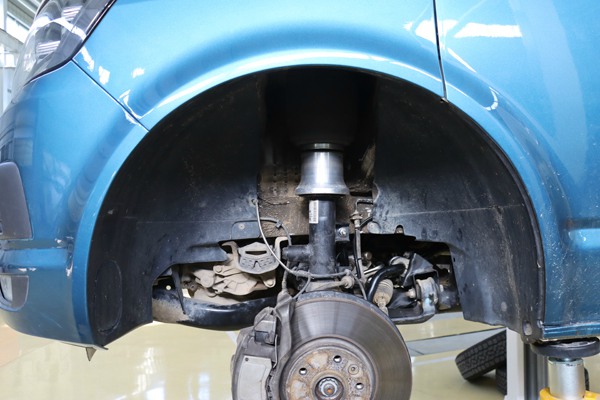
Install the front shock absorber assembly
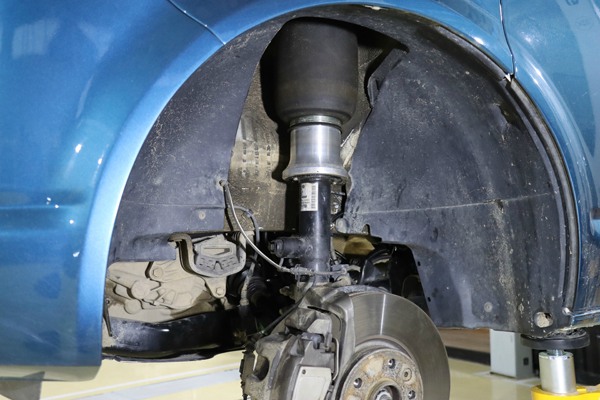
Electric wiring harness connection
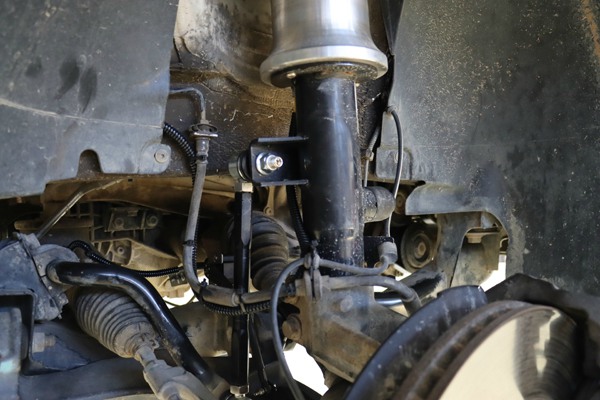
Using the original car suspension rod
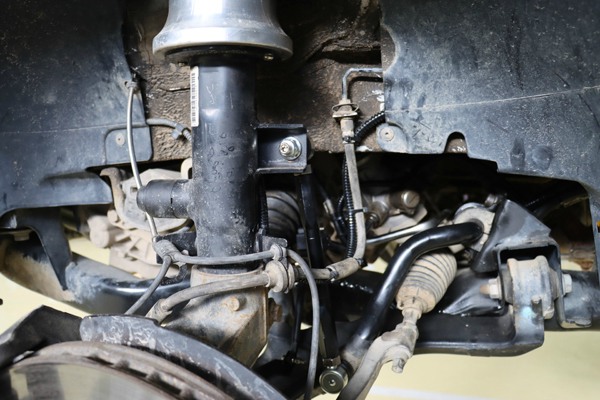
The trachea and brake oil pipe are combined together
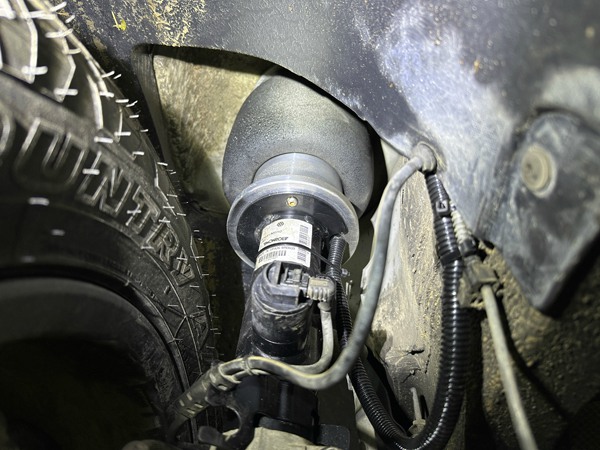
Check if the airbag inflation rubs against the tire
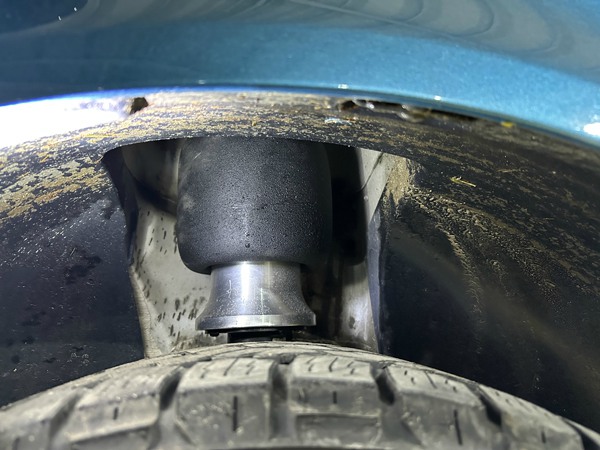
Inflatable status of airbag
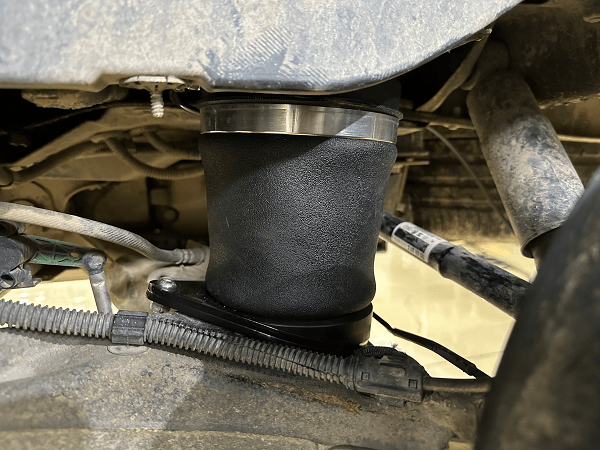
Please note that a portion of the protruding top of the original car spring needs to be removed
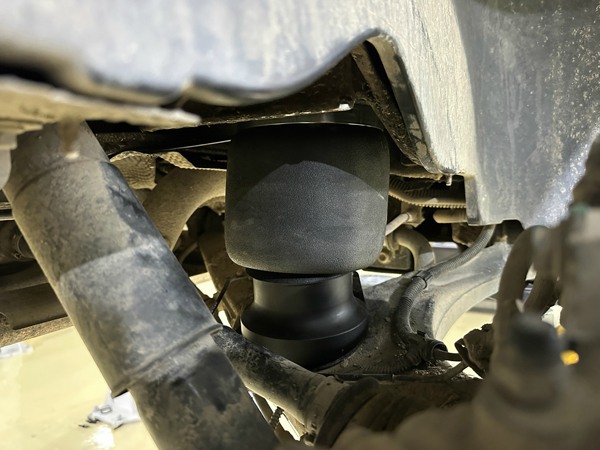
Installation of sealant on the top of the airbag
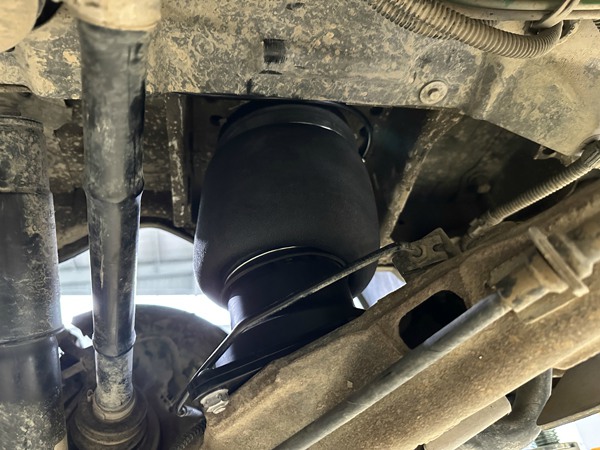
Fixing airbag base and tray
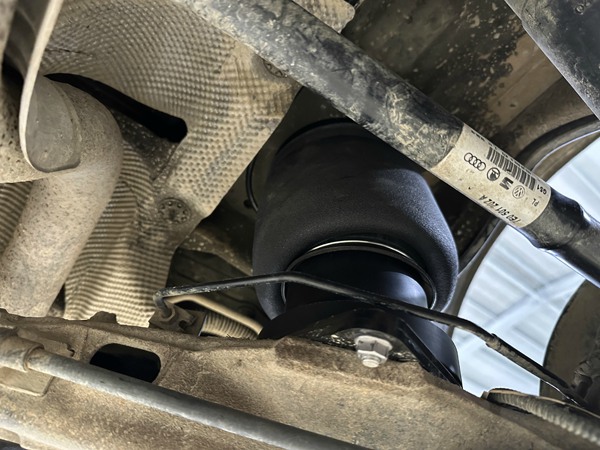
Fixed airbag base
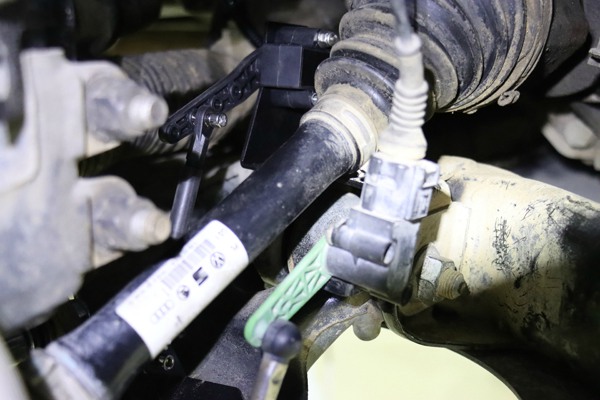
Installation of front height sensor
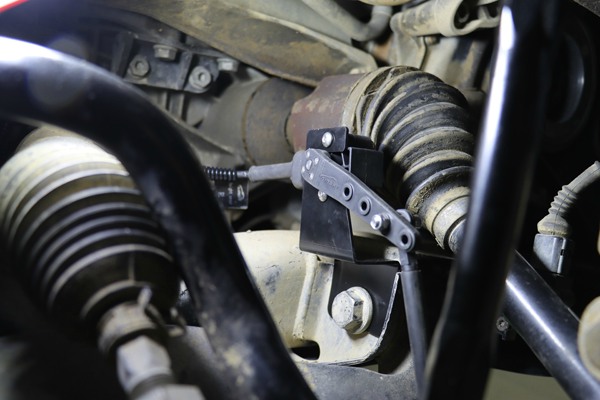
Installation of front height sensor
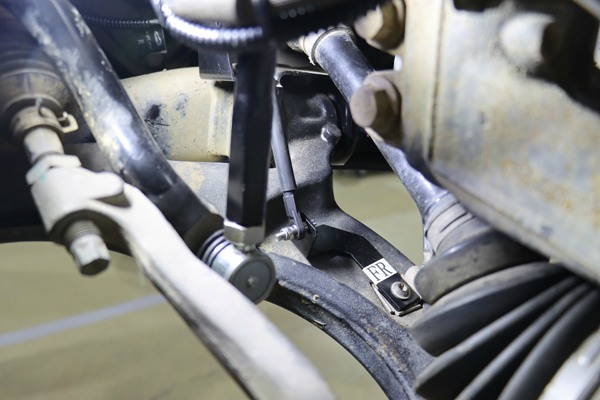
Installation of front height sensor
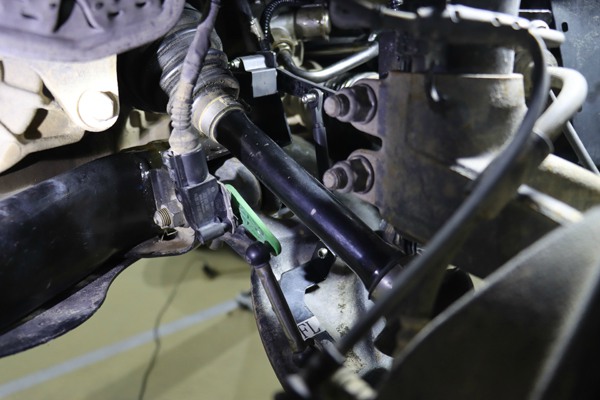
Installation of front height sensor
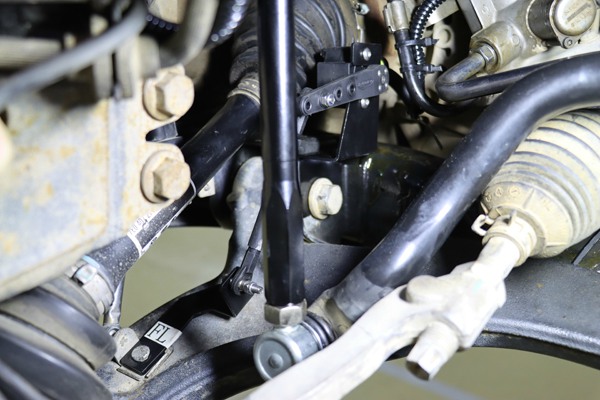
Installation of front height sensor
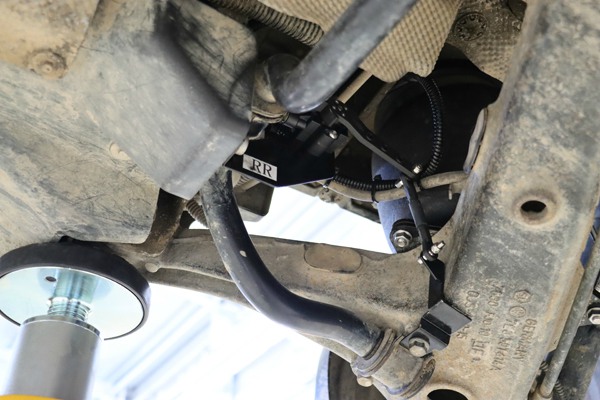
Installation of rear height sensor
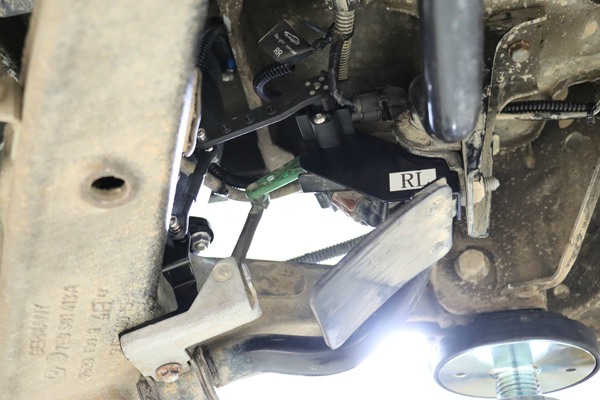
Installation of rear height sensor
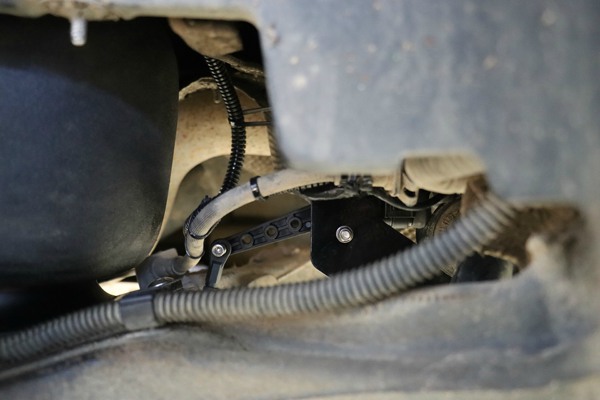
Installation of rear height sensor
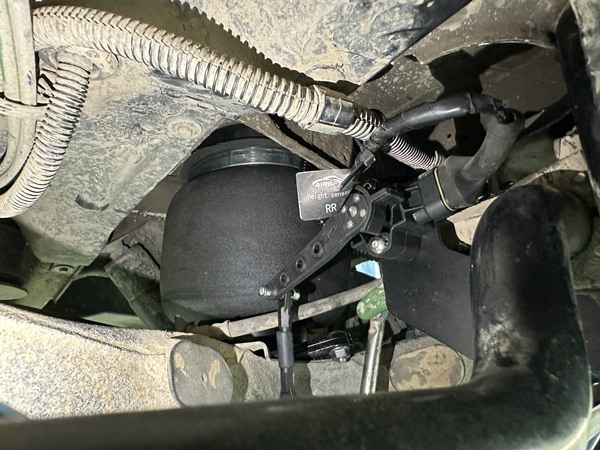
Installation of rear height sensor
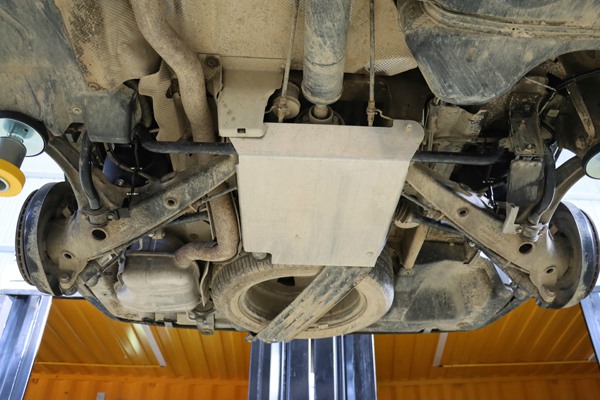
After the installation of the rear height sensor
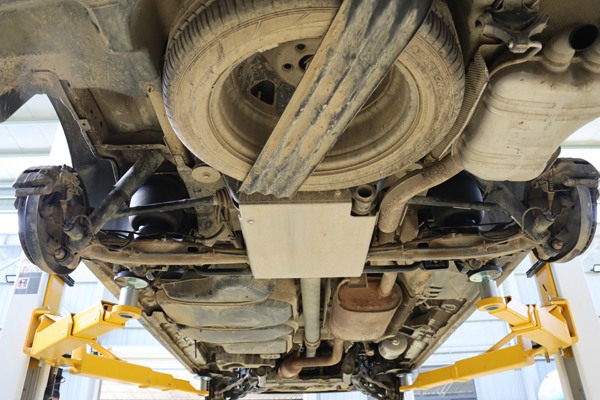
After the installation of the rear height sensor
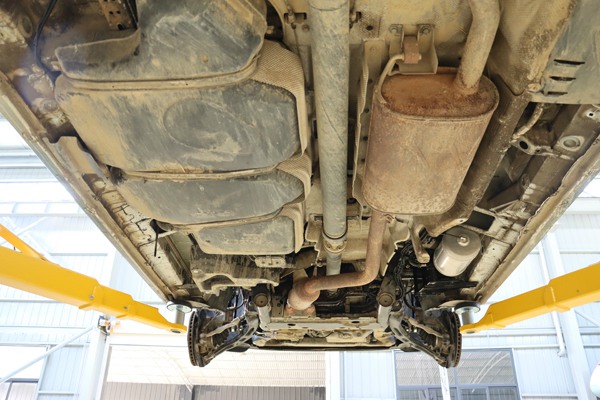
Installation of gas cylinders and compressors
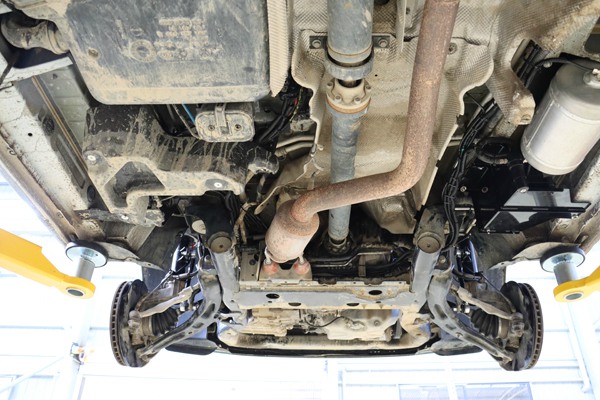
Installation of gas cylinders and compressors
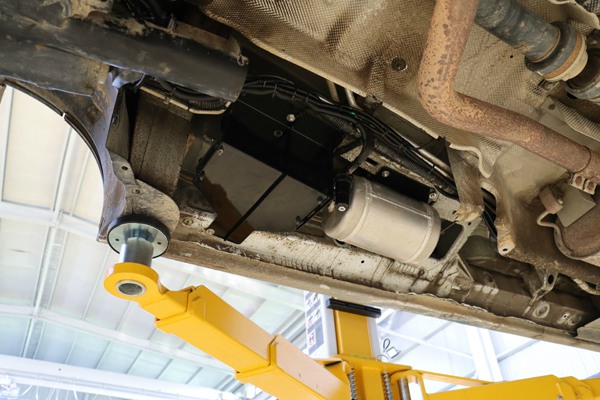
Installation of gas cylinders and compressors
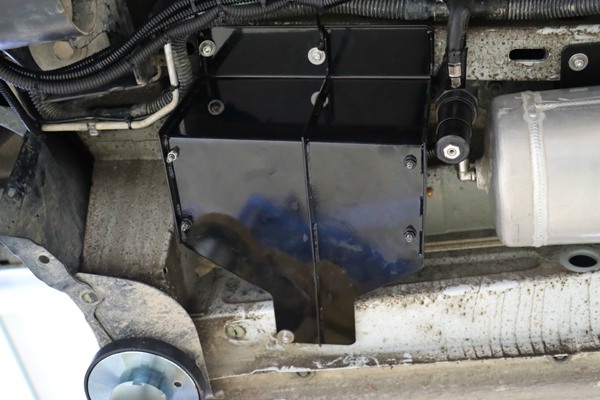
Installation of air compressor
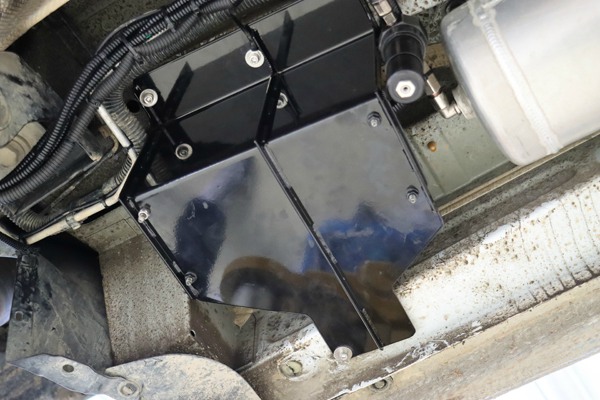
Installation of air compressor
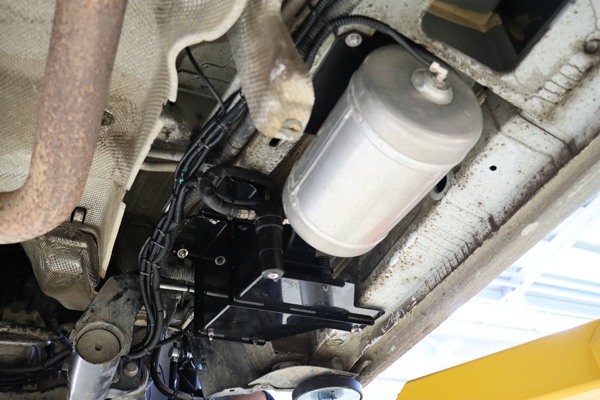
Installation of gas storage tank
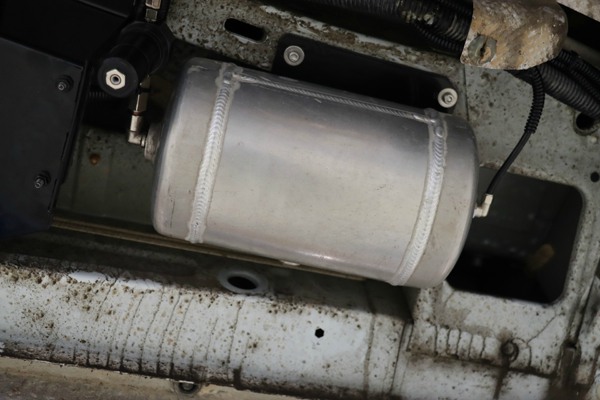
Installation of gas storage tank
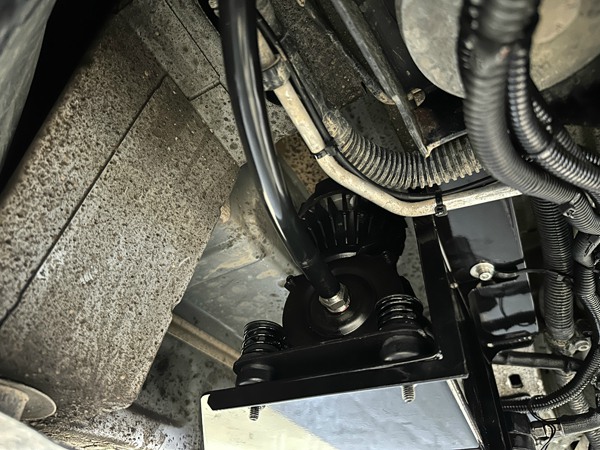
Install the intake pipe of the air compressor into the engine compartment
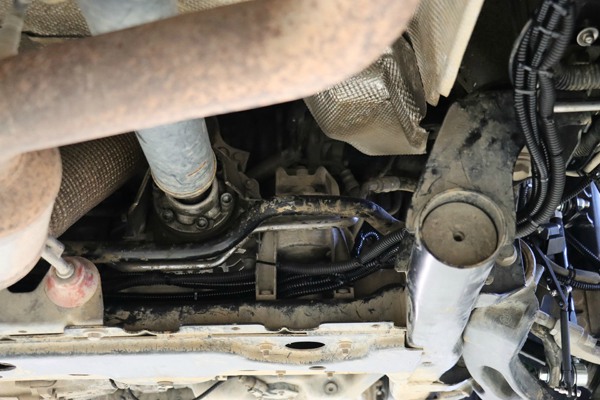
Installation position of trachea and wiring harness
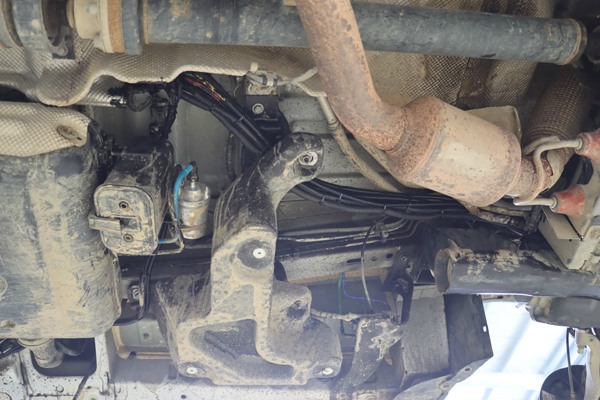
The trachea and wiring harness enter the car from the bottom of the driver’s seat
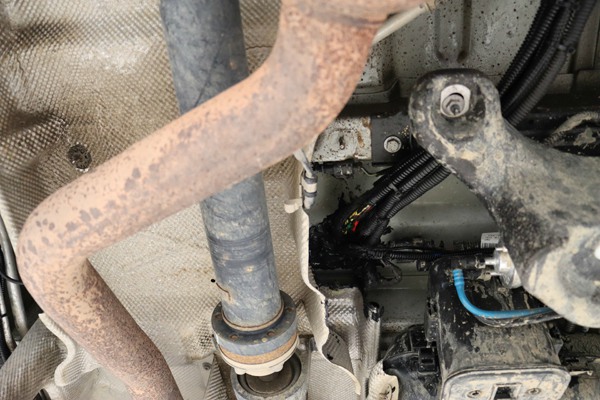
The trachea and wiring harness enter the car from the bottom of the driver’s seat
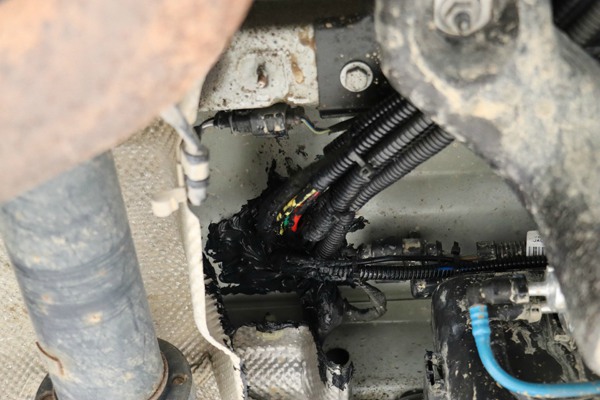
The wiring harness needs to be coated with sealant to the holes inside the car
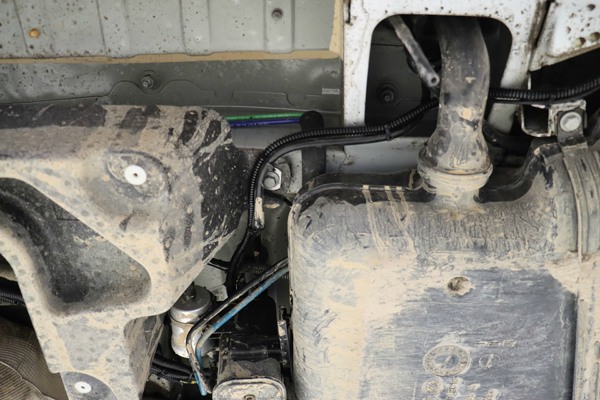
Installation position of trachea and wiring harness
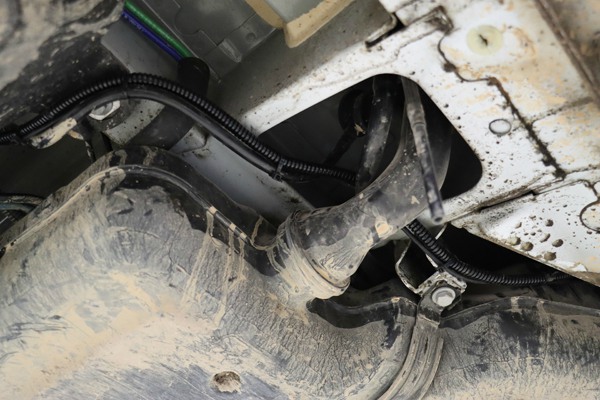
Installation position of trachea and wiring harness
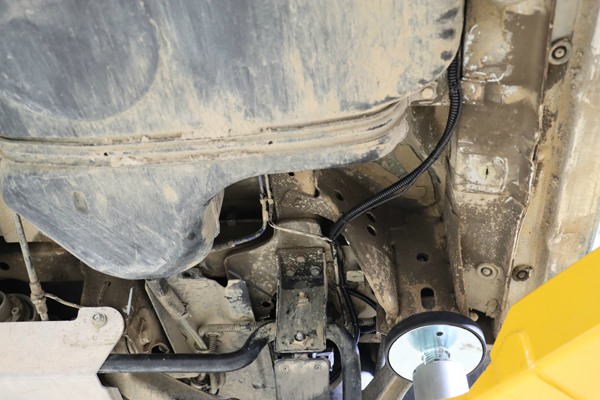
Installation position of trachea and wiring harness
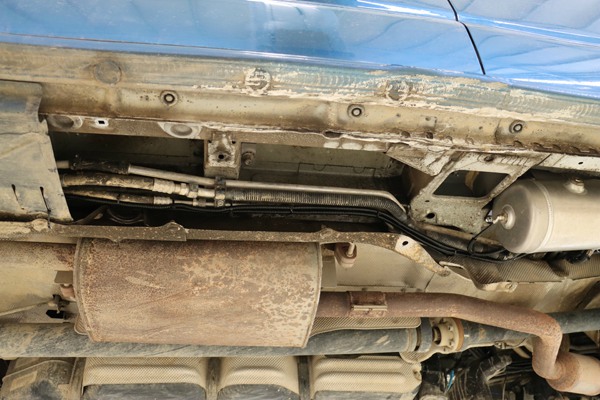
Installation position of trachea and wiring harness
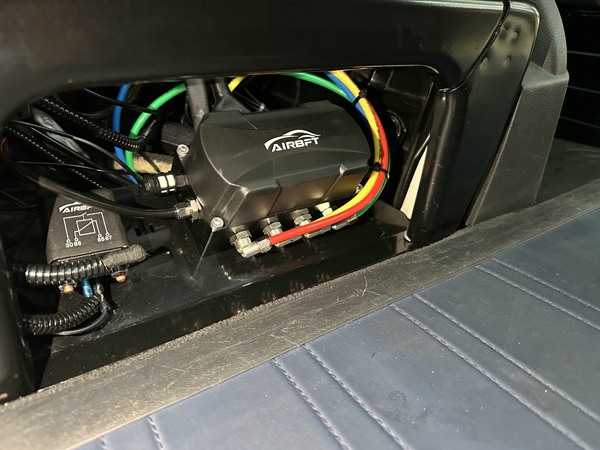
The control system is installed at the bottom of the driver’s seat
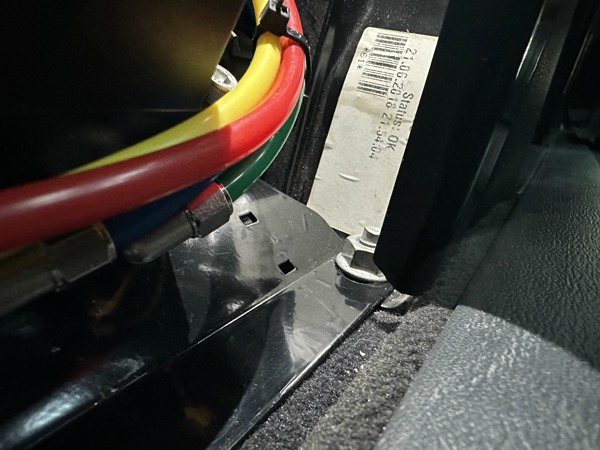
Control system bracket and seat fixation
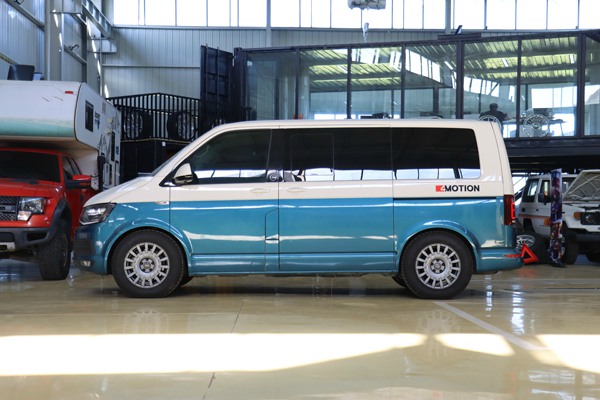
Reduce to the lowest height
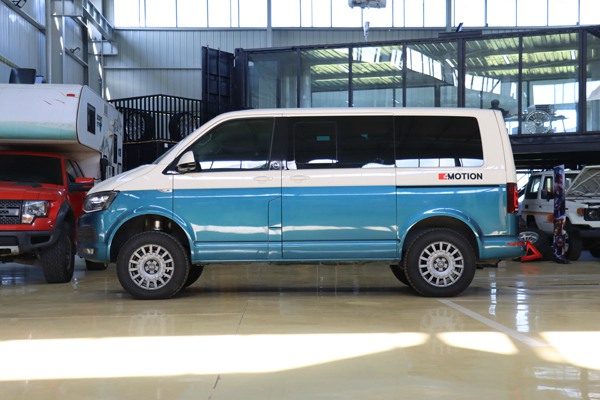
Raise to the highest height
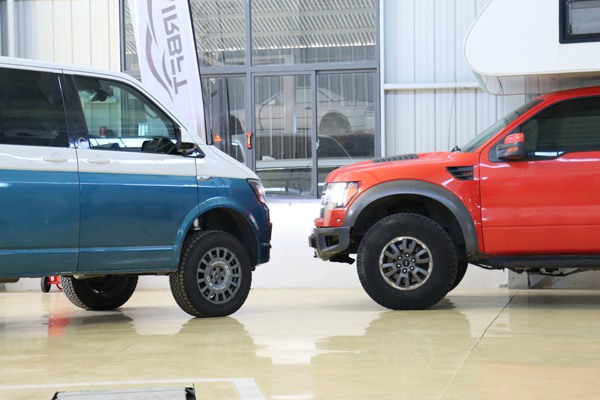
The highest height can be compared to a Raptor pickup truck.
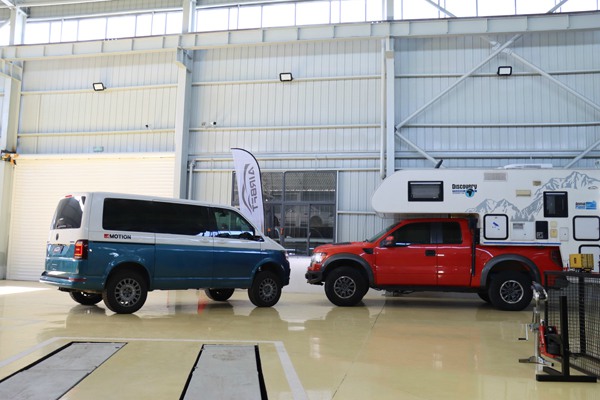
Note that reaching the highest and lowest positions is only for posture display and cannot be driven.
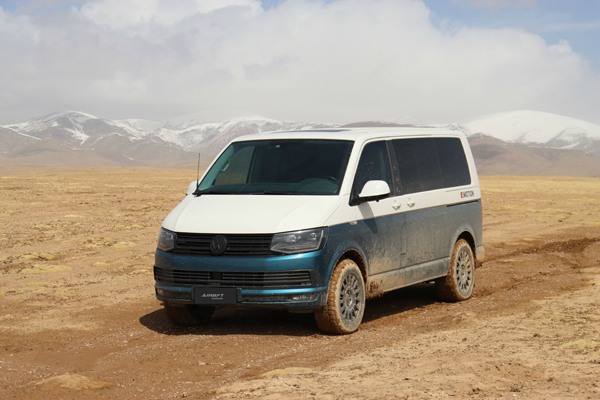
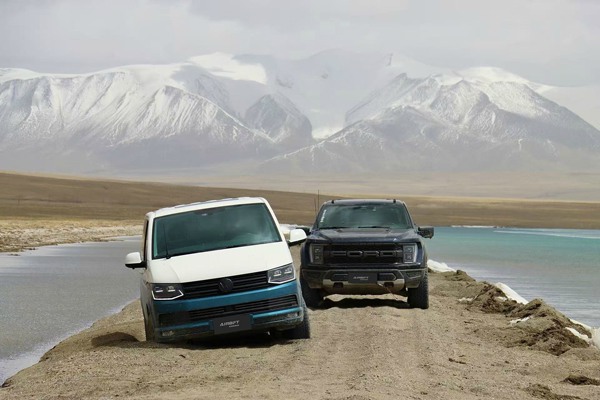
The Volkswagen T6 equipped with AIRBFT air suspension entered the no man’s land through bumpy roads, raised the chassis, increased passability, and provided comfort.
Instructions:
1. The Volkswagen T6 air suspension kit is designed to improve comfort and can be raised or lowered in height compared to the original car, but it cannot play a low slung style. Please do not drive at low altitudes.
2. If your car has replaced large tires and wheels, please pay attention to whether the airbags will wear out.
3. Please do not disassemble the top of the front shock absorber tower and airbag to avoid affecting the warranty period, which is 3 years.
4. If you enjoy outdoor living, please apply some thread glue on the screws during installation to avoid loosening.
5. Please choose professional installers for construction.
Related links: